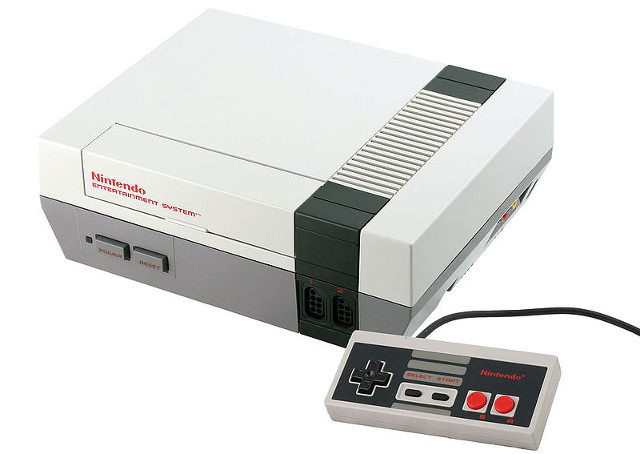
The Nintendo Classic Mini has caught the world’s attention. This retro device from Nintendo allows buyers play 30 classic Nintendo games like Super Mario, Zelda, and Metroid.
Our friends from Japan did not anticipate the demand for these nostalgic devices.
If you have a need to show your kids these classic games, you don’t have to wait until retailers get them back in stock. With a little bit of time and elbow grease, you can build your own mini game system that does much more than the limited mini (even though that thing has great hardware).
What you need:
- Raspberry Pi 3B: This little computer board will power the system ($35)
- A Case for RPi: I like this one – you don’t even need a screw driver ($7)
- A Micro SD card ($12)
- If you don’t have a spare Micro USB charger around, you need one of those too.
- USB Gaming Controllers: This project supports PS3 controllers which are my preference, but if you want a retro feel, check these out.
What you need to do:
- Lifehacker.com put together spectacular instructions on how to do this project, I cannot improve upon it. They will tell you everything you need to know. But I will provide links to the software you need.
- Download the Retropie image
- Download the Win32DiskImager program so you can install the software on the SD Card
I built a few of these devices over the last few months, and it has become so much easier to get them set up in the most recent 4.1 version. I should also warn you – you will need a USB keyboard to help with the first configuration.
You might be asking, where do I get the games? If you search the term “Nintendo Roms” you will find places to get them. Emulator ethics states that you should own the games in their original format before downloading a copy.
Photo: Wikipedia
